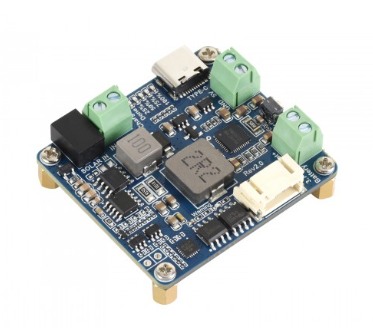
After experiencing some issues, Waveshare support provided me with a firmware to flash on my board. Here is some information on how to do the same.
Why?
For a specific Meshtastic/MeshCore project, I bought a Waveshare Solar Power Manager Module (Rev D) to manage battery charging with a solar panel.
This board is quite great and provides some useful features. You can find it here .
After some testing, I ran into a few problems:
- With low-power draws, such as Xiao nRF modules, the output power gets cut off after a while (sometimes seconds, sometimes hours…).
- After a 3V cutoff to protect the batteries, the power is not restored once the batteries are recharged.
I contacted Waveshare support, and they provided a great solution. They informed me that future batches will come with this firmware pre-installed.
Disclaimer
I must state that I cannot be held responsible for any damage you might cause to your board if this process goes wrong.
Required hardware and software
You will need the following to perform this upgrade:
- The Waveshare board, of course, of the same version (mine is labeled Rev 2.0).
- A WCH-LinkE module, which you can find on AliExpress like this one .
- A Windows PC.
- A USB Type-C cable.
- Two jumper wires.
- The WCH Tool here .
- The firmware here .
Process
Please follow these steps:
- Unzip the WCH Tool on Windows, launch the executable, and then reboot your PC (for the drivers).
- Connect the LinkE module to your PC.
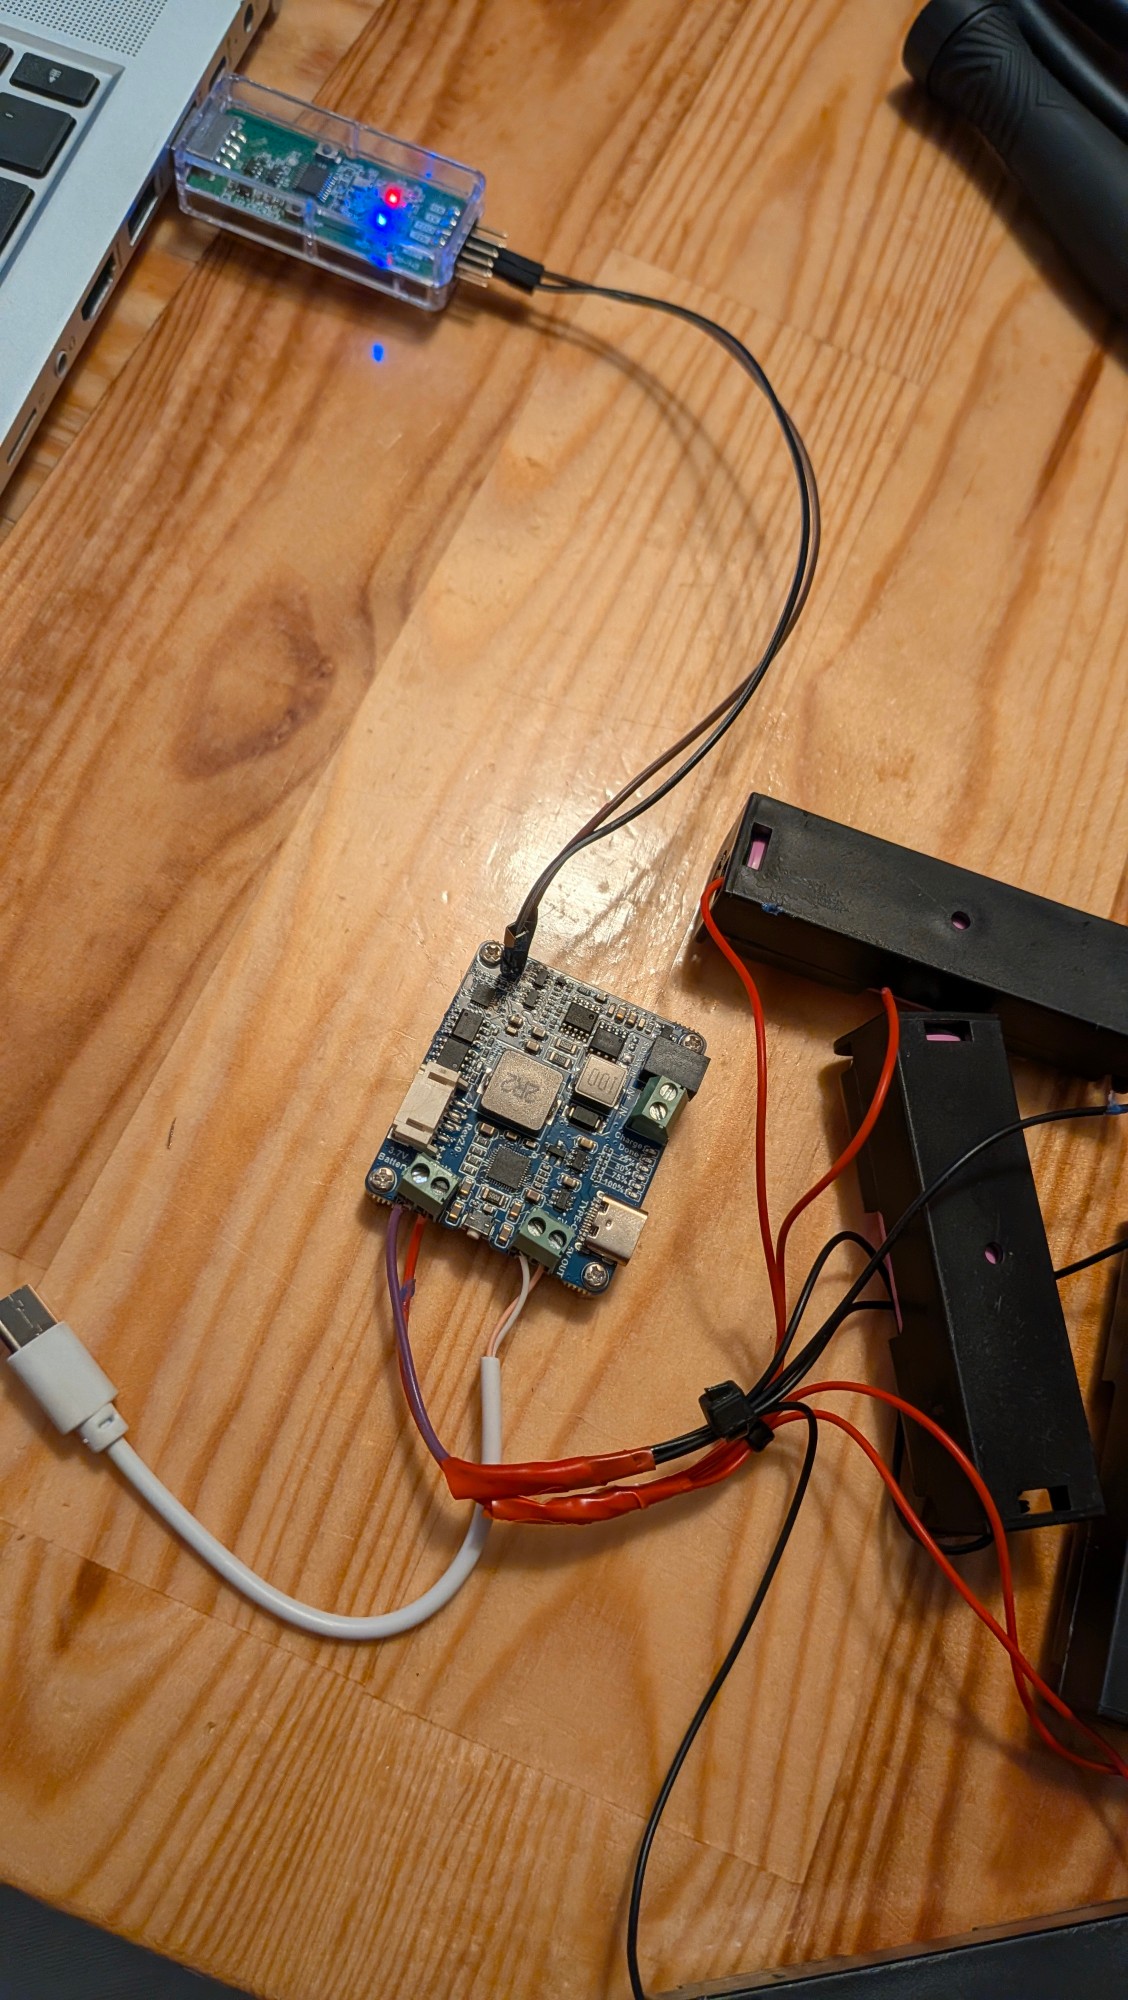
- Connect the Waveshare board:
- Type-C output to the PC
- Battery connected to the battery input
- Two wires:
- One from LinkE
GNDtoGNDon the Waveshare board - The second from LinkE
SWDIOtoSWDIOon the Waveshare board
- One from LinkE
- Open the WCH Tool.
- Go to “File” > “Open Firmware” and select the
.hexfirmware file. - In the “Series” drop-down menu, choose “CH32V003”.
- Click on “Target” and choose “Disable Chip Code-Protect” to allow writing.
- At the bottom, select “Active WCH-Link” as “WCH-LinkRV” and click “Set”. The blue LED on the LinkE should turn off.
- Under “Connected WCH-Link List”, click “Refresh”. “RISC-V Link” should appear.
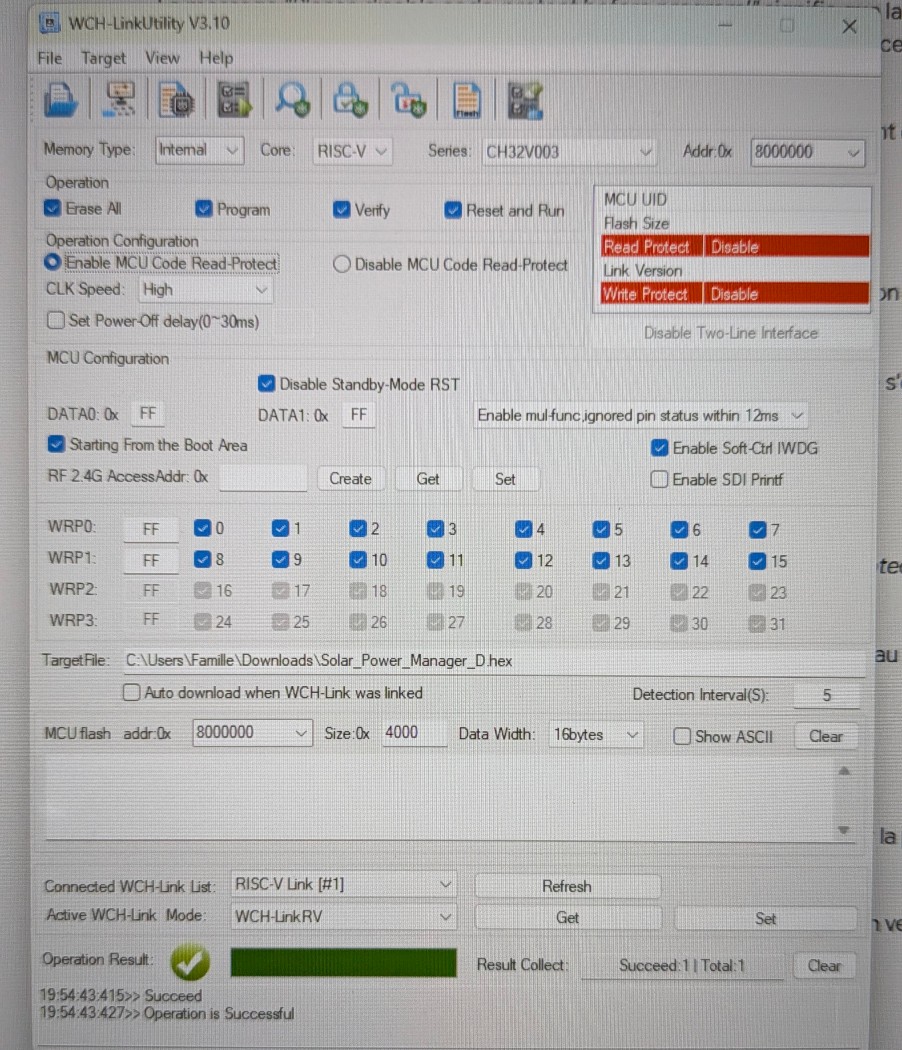
- Now, press “F10” to flash.
- If the flash is successful, restart the board by pressing “F12”.
The procedure provided by support was simpler than this one, but it used WCH-LinkUtility v1.70, which didn’t quite match the provided version, so I had to figure some parts out myself.
Now my board properly remembers the low-power mode. You have to enable it once after the flash: just double-click the button. The LEDs should stay permanently lit. Try removing the battery and plugging it back in; it should power on and stay on.
For the 3V cutoff, I guess it’s OK because power is back after reconnection, but I didn’t try real 3V cutoff.